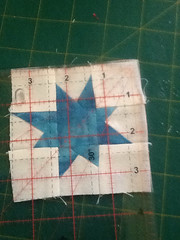
Here is a tutorial for very little wonky star blocks which finish at 3" square, which means they are 3 1/2" square before being sewn together.

This is a good block to use up small scraps because you only need 1 x 1 1/2" square for the centre plus 8 scraps the make the wonky star points. The minimum size I would use is a 2 1/2" square cut on the diagonal.
Now I only iron this a 2 points when you iron the points flat and when you iron the finished block. See not too much ironing. Also a little bit of scissoring to trim of excess scrap when sewing star points.
Then a little bit of rotary cutter action to tidy up the point blocks.
I chain piece these to speed up the process.
For each block you need
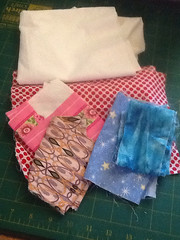
- background fabric 6" x 3" which you subcut into 8 x 1 1/2" squares
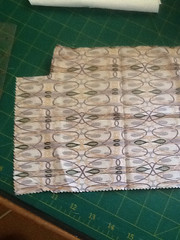
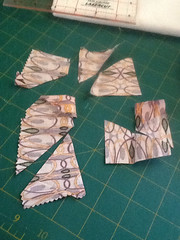
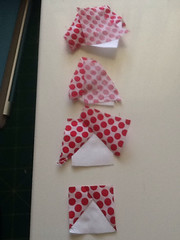
- a print fabric for centre and star points cut 8 triangles these don't have to be perfect as this is the whole idea of this block

First sew a triangle onto the top left corner of one of the background 1 1/2" background squares, making sure that when folded back the fabric will cover the square. It doesn't matter if it is bigger as we will be cutting them back to size.

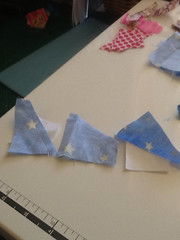
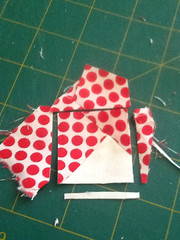
1- With the triangle facing towards you using scissors cut of the excess background fabric.
2 - Finger press triangle towards top ensuring that the seam is pressed away from the background fabric.
Sew another triangle to the other corner. Making sure you cover the end of the previous triangle seam.

Cut the excess background & triangle fabric off.
Now iron flat. Then cut back to a 1 1/2" square.
Now for some cutting.

Now you don't have to cut even with the original base you can move it up as long as you have enough overlap of triangle fabric.


All neat and tidy now.

Next chain piece the pieces together first a background to the right of 2 point blocks.
Then a point block on the centre print 1 1/2" square.
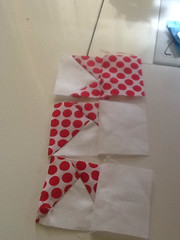
Then repeat on the left side of the blocks.
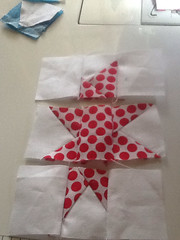
Now don't press at this stage because it is easier to sew the 2 rows together by just nesting and holding the seams flat as you sew. I always have the edge row on top with the centre row underneath. I fold the seams on the centre square towards the centre and the seams on the star point towards the outside.

Sew on one side piece then the other.
Now press and you should have 3 1/2" block. Because these blocks are so little they might be a little out but this will be taken care of when you sew the blocks together.
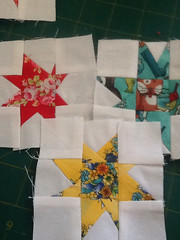
You can even fussy cut the centres.
Here they are all pressed and cute ready to be sent off to the Queen Rainbow Bee.
No comments:
Post a Comment